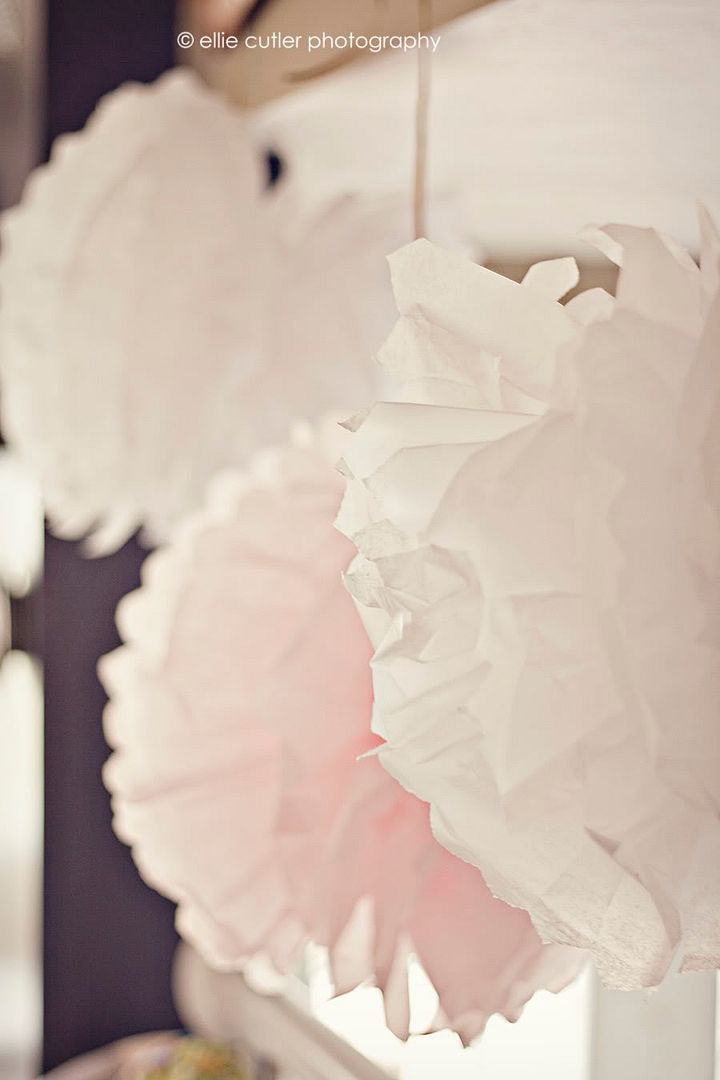
Today's Princess Party explanation...the tissue paper pom poms.
...but first I have to answer a question about yesterday's post about the length of my banner. I just used the length of the roll of ric rac (it was about 6.5 feet...I think) and it was PERFECT. It really depends on the area you are going to put the banner. Mine was going over a wide entrance to the dining room and fit perfectly. I would measure the area you are going to put it and then decide based on that.
NOW! On to pom poms!
I've made these before and I absolutely love them. I think they just add so much to a previously empty space. In our case, there was a banister separating the family room from the dining room. It just looked empty and PERFECT for our pom poms.
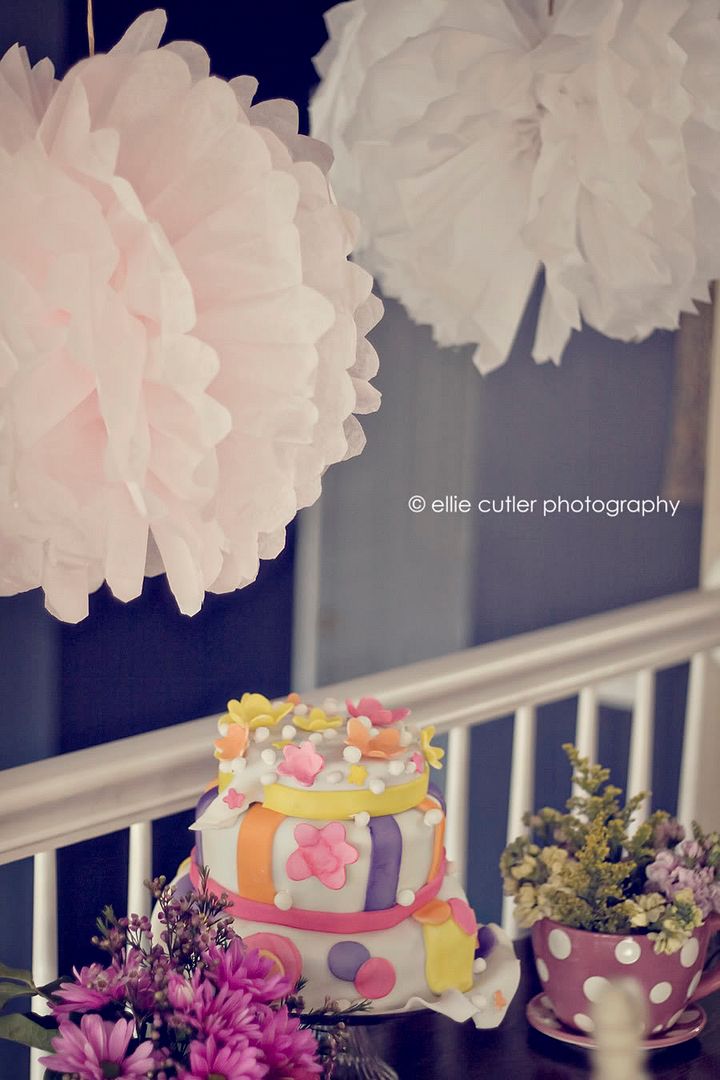
I honestly didn't take any pictures during the process of making them so I'm really going to refer you to Martha Stewart's website where she gives a very detailed tutorial complete with pictures. You can click HERE to see it.
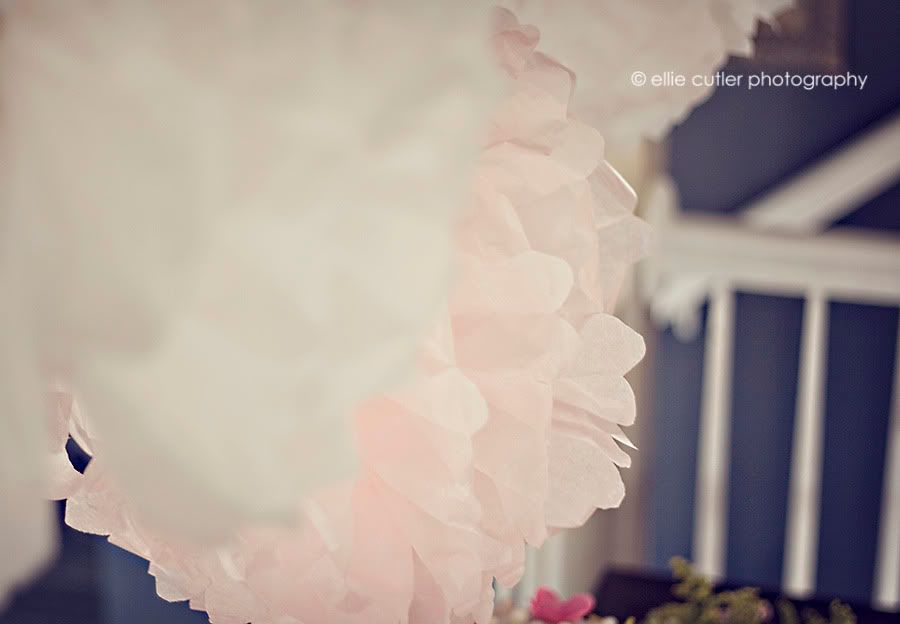
I will tell you...working with wire can be kinda dangerous. The first time I made them I poked myself and bled all over my white pom pom. My sister-in-law did the same but she managed to contain her blood and saved her pom pom. Poor girl. I recommend a wire that has some sort of plastic around it instead of just a thin wire. Just me.
Also...I used rafia to hang them. I love rafia and it's cheap. I've also used just regular ribbon and the ribbon you wrap presents with. Doesn't really matter...just whatever you think is pretty.
PS...hope you still think these are pretty after viewing Martha's. Ah Martha... She makes my party planning and crafting SO much easier.
They do mention that you can buy a kit to make these...I looked everywhere and couldn't find them. If you can...please send me a link. I'd GREATLY appreciate it. :)
Showing posts with label party ideas. Show all posts
Friday, February 26, 2010
Thursday, February 25, 2010
I've been asked about how I did the Princess' party so I decided to break it all down nice and easy.
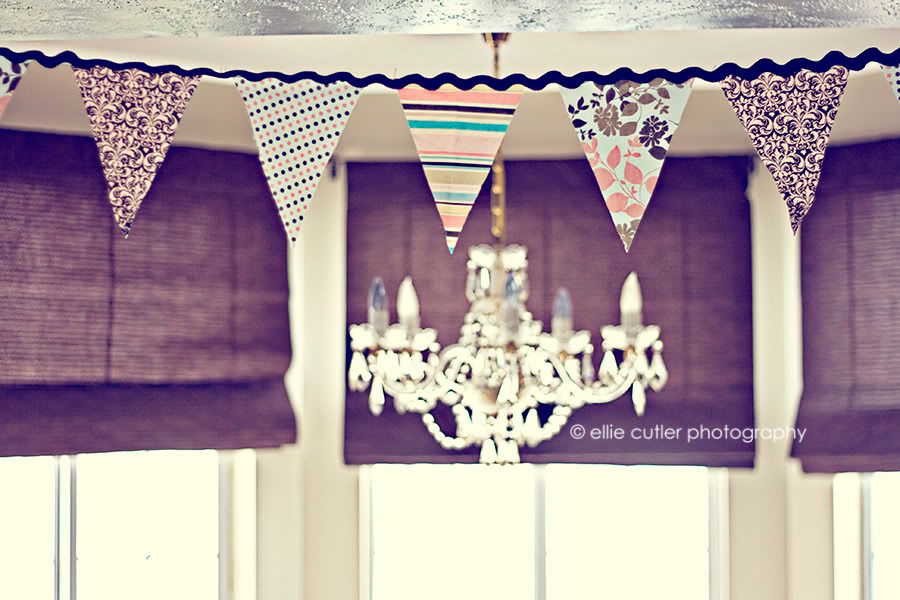
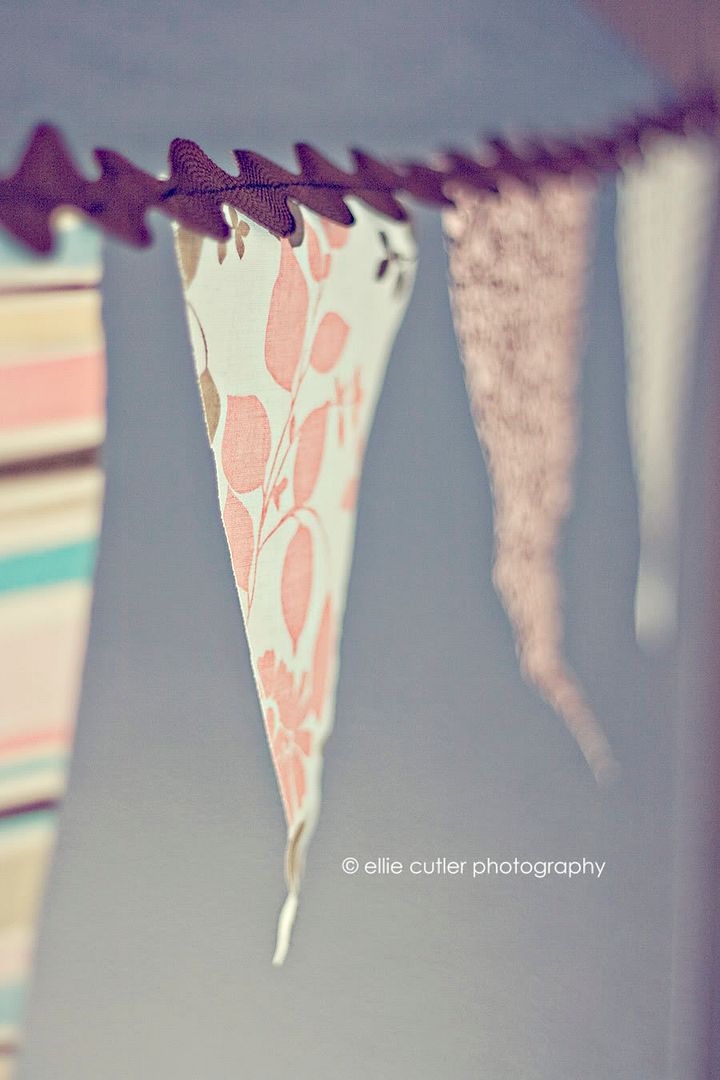
#1. The fabric banner. All I did was go to Hobby Lobby (any fabric store will do. I like Hobby Lobby b/c it seems like their material is always on sale and they have cute prints) and picked out 4 prints that I liked.
I bought a 1/2 a yard of each but that's b/c I'm going to be using this fabric in the Princess' room. You would probably only need a 1/4 of a yard of each. I have a lot left over which I'll be using for matching projects. All in all...the fabric cost me $10.00.
You'll also need 1 roll of coordinating ric rac. As you can tell from this photo...I used brown.
I went home, ate dinner (it's always important to sew on a full stomach...just a tip from me:)
I then drew a triangle on a piece of cardstock and used it as a guide to cut the pieces. After I had 4 of each print...I pulled out the sewing machine.
I spaced mine about an inch apart. I've seen them done right next to each other and I've seen them done about 2 inches apart. Doesn't really matter...whatever looks good to you.
I fought with my sewing machine...seriously. I think it's starting to quit. It's an entry level sewing machine and I think I'm starting to move beyond it and it's getting offended. I don't know. But after the bobbin FINALLY started working, I finished the banner in about 15 to 20 minutes of sewing.
Now keep in mind...my banner is very basic. I didn't care about hemming it or double siding the triangles. If you're going to do that...you'll need double the fabric and patience and yeah...I'm not that motivated. I like things short and sweet. :)
If you have any questions...leave a comment. I'll answer them tomorrow.
Tuesday, February 23, 2010
Saturday, February 20, 2010
Friday, February 19, 2010
Monday, February 15, 2010
I've decided to make these for the Princess' birthday.
Originally I wasn't planning on making anything...
...then I saw these.
And the recipe is so easy.
I just can't help myself anymore.
Recipe can be found here.
Sunday, February 14, 2010
The Princess' party is on Saturday.
She's only turning 1 so it's going to just be family...maybe just a couple of friends.
I decided to go with a vintage Alice in Wonderland theme. I designed the invitation using some original Alice in Wonderland art from the book. I love the way it turned out. If I had my regular computer back...I'd show you.
As for the cake...this is the inspiration.

I don't know who the designer of this adorable cake is...but I love it.
It's going to be smaller...not large at all.
We're going to do marble cake and then attach the fondant using raspberry jam.
We're making the flowers out of gumpaste because evidently the flowers work better that way. I've worked with fondant a few times so I think it's going to be fun.
We're baking the cake on Friday and then freezing it so that we have more of a firm surface area to work with when applying the fondant. I've never done that before but I heard it was a good idea. Good thing she's only 1 so that it really doesn't matter if it doesn't turn out.
I love having a child. I love having a reason to set up for a party. So much fun. I don't do large parties for small children but I that doesn't mean I can't make it pretty!
She's only turning 1 so it's going to just be family...maybe just a couple of friends.
I decided to go with a vintage Alice in Wonderland theme. I designed the invitation using some original Alice in Wonderland art from the book. I love the way it turned out. If I had my regular computer back...I'd show you.
As for the cake...this is the inspiration.
I don't know who the designer of this adorable cake is...but I love it.
It's going to be smaller...not large at all.
We're going to do marble cake and then attach the fondant using raspberry jam.
We're making the flowers out of gumpaste because evidently the flowers work better that way. I've worked with fondant a few times so I think it's going to be fun.
We're baking the cake on Friday and then freezing it so that we have more of a firm surface area to work with when applying the fondant. I've never done that before but I heard it was a good idea. Good thing she's only 1 so that it really doesn't matter if it doesn't turn out.
I love having a child. I love having a reason to set up for a party. So much fun. I don't do large parties for small children but I that doesn't mean I can't make it pretty!
Subscribe to:
Posts (Atom)