Showing posts with label bedroom. Show all posts

Wednesday, April 25, 2012

Updating the Kid's Room...

Well...now that we have 2 kids, it's time to update their rooms.

It was just the Princess's room but since she can't go into the basement without "help"...they're going to have to share.

I've decided to do orange, light blue, and gray.  And perhaps some chalkboard paint.

Here are some cool pics I found online.  I'll put together an inspiration board a little later...


I'm so excited to get started. 

I'm going to be stenciling a rug and yeah...a bit nervous about that.  But the rug in the last picture was stenciled so if she can do it and have it look so phenomenal...I can do it!  That's my motto...it they can, I can.  

We'll see if that works.  :)

Tuesday, December 7, 2010

Inspiration Tuesday


Today has been a good day.

Sometimes as a mom there are some bad days.  Days where you just feel absolutely zero motivation to do anything.  Days where just getting dressed is a major accomplishment.

Today has not been one of those days.  Yesterday...well, that was another story but today...it's been a good day.

The Princess and I got up.
We showered.
We got dressed.
We ate breakfast (with no arguments or food flung anywhere).
We went Christmas shopping for Daddy (we're now officially done.  Woot woot!!!).
We got a fun little craft Christmas tree to do together.
We found some pretty pillowcases on sale at Target for $10.56 (SCORE).
We went to Burger King (not my favorite but hey...it's cheap).
The Princess ate all of her food and stayed in her chair the whole time.
We came home.
We did our craft Christmas tree.
We watched Dora.
The Princess is now tucked away in bed (went down without a sound) and I get to play for a minute.

I do however, have laundry waiting for me. 

But yup...good day.

SO on to our Inspiration Board of the day!

Ok...I decided to do a bedroom today.  I recently had someone tell me I needed to do more bedrooms.

And here is a new bedroom I came up with.

Untitled

I love the warm feeling of it with the vintage glam look of the nightstand and wall art.  

I LOVE the pom pom curtains.  They didn't have them in yellow or blue but I put them on here anyways because they would be a way easy DIY.  Just some sheer white curtain panels and some pom pom piping from any craft store.  In fact these are the curtains that will be going up in my master bedroom.  I'll do a photo documentation of them when that time comes and share it.  

I love love LOVE the tree jewelry stand.  I'm gonna ask Santa for it for Christmas.  :)  And I thought the book storage boxes were brilliant for any other jewelry that can't be hung.  And then the bird binoculars add just a twist of whimsy and fun.  Not to mention it totally matches the color scheme as well. 

As for a wall color...I would probably do a very light LIGHT mustard/yellow statement wall.  You could even do the walls all the same color but then add some stripes to the statement wall.  I just love stripes...  :)  Probably too much. 

Monday, September 27, 2010

100th Post!

Wow!  100 posts.  Weird...

Good weird.

Unfortunately though...I have a cold.  A yucky one.  So I'm not feeling extremely creative today.  It's been funny however...  Every time I sneeze the Princess looks at me with this funny little grin and says "Whoa..."

It's quite comical really.

Anywhoo!

So we put our bed back in our master bedroom as soon as we possibly could.

LOVE!

Thought I would share a picture of the Hubs and his little helper putting the bed together...


As you can tell...the bed isn't quite done yet.  I still have to modge podge or wallpaper the inside of the cubbies.  We do have our yellow bins though...they're very cute with our gray bedding and yellow throw pillows.

I love me some gray and yellow.

I also love me an action shot...


She was so excited to be helping.

And I know this is random...I hardly ever do personal posts...but I can't help it.  She's just too cute.


I had a photo session cancel on me so I took her out instead.  Best.Session.EVER!  And I'm not just saying that.  :)

You can see more HERE...

Did you click?

Did you see?

I know you want to!

Told ya she was cute.  :)

So that's us lately.  Just chillin' and oh yeah...tilling up our back yard to plant a new one.

More on that later.

Tuesday, September 21, 2010

The Built-in's...

Ok...so the next step in the master is to build or install the built-in's.  The wall we're putting them on is laid out rather strange.  It looks like this...

Now it's not quite as cramped as this...but pretty much!  So we obviously can't put extremely large wardrobes on either side of the bed.  Actually...we can only put 15 inch wardrobes on either side of the bed.  15 inches.  NOT large.

We were thinking about building them.  Probably pretty easy to build.  BUT!  We have no experience with building things like wardrobes and we would have to have the Home Depot people do all of our cuts for us.  We found out when we made our bed that Home Depot cuts aren't the best and the Hubs is kinda anal about getting things perfectly square.  SO!  The only other option we had was to buy.  There are no such thing as 15 inch wardrobes.

We looked everywhere!!!  The only thing we could find were 19 to 24 inch wardrobes.  Yeah...there was no WAY for us to put a 24 inch wardrobe in our little room.  There was no way to even put in a 19 inch wardrobe in on one side.

We really had no idea what to do about this.  Then...we went to Ikea to price out kitchens and stumbled upon this...
Uh...perfect!  It's 15 inches wide...80 inches tall...and 12 inches deep.  Brilliant!!!  Not quite as tall as I would like but I'm cool with that...we can work with that.

So...here is a picture of what it COULD look like.  Haha!


Then we're going to add a window seat directly under the window in the diagram above...  

And here's another picture...


Yeah...so obviously a stock photo...sorry.  :)

Can't wait to buy my wardrobes and then share pictures!!! 

Saturday, September 11, 2010

Beadboard

K...so remember how I've said we're going to beadboard our ceilings?  Yeah...well, we LOVE the look but weren't so excited about the work.  I'm not the strongest person in the world and holding a sheet of beadboard up while the Hubs drills wasn't my idea of a good time.  AT.ALL.

Also...because our house was built in the '40's, it's all plaster and stud finders don't do a very good job in our house because plaster isn't quite sheet rock.

All in all, we just weren't sure what we were gonna do.

Then I found this.


Beadboard.  Or so you think!

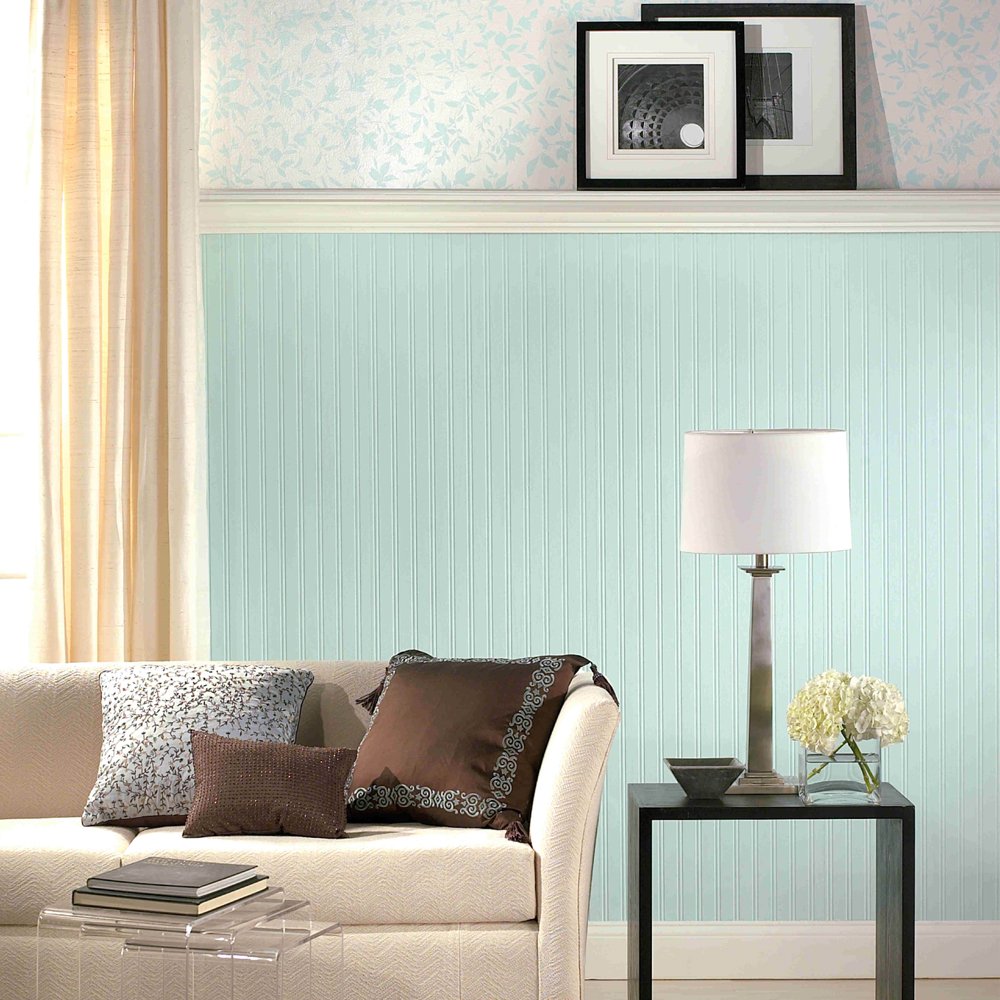
It's actually beadboard WALLPAPER!  It's made out of vinyl so you can paint it whatever color you want and it goes on super easy and it's cheaper!

Um, SCORE!

So we are def going to be doing the beadboard thing....but now it'll be beadboard wallpaper.  And the best part is...I can do this by myself!  I don't need the Hubs for this stuff!  Nice.  :)

AND!!!  We're gonna use it in the bathroom to.

Here's our inspiration photo for that...


I love love LOVE high wainscoting.  I think it's pretty.  :)  Above the wainscoting in ours though we're going to do a nice blue...like a light turquoise.  Ah...it's making me happy just thinking about it.  :)

Tuesday, September 7, 2010

Gallery Art

So I'm re-doing the wall art in our living room and figuring out what to do in our bedroom.  I LOVE gallery walls.  So pretty.

This one...?  My favorite. 


I love the frames and pair them with the B&W prints...?  Yeah, totally clean lines and so pretty.  BUT!  The set is $349 for all of them.  Um, not pretty pricing.  I'm thinking these IKEA frames are a pretty good replacement...


and for $9.99 per frame...I'm thinking it's a BIT more affordable!  

They come in all of the sizes in the collage...


Yup...I'm thinking this is the way to go.

And here are some gallery art wall inspiration pictures for our living room.


Wednesday, September 1, 2010

Master Bedroom Phase 3...

Painting our room.

As most of you know...we decided to do a gray and yellow color scheme.  So pretty and classic.

The problem was what gray...  We went to Home Depot and looked at the different grays.  I wanted one with a cooler undertone...not beige.  The Hubs and I looked at allllllllllllll the different colors and then decided we wanted a bit darker gray in the bedroom.  NOT super dark but not the light gray we're going to put throughout the house.  So...after a lot of debate, this is the color we settled on. 


Sorry for the odd angle, I realized this was the only picture that had the color on it.  If you can't really see it, it is Behr's Porpoise color.

We got home...prepped the area...for fun, here is a picture of my floor...


Pretty huh?  We decided not to fix any of the imperfections of the wood because I like aged wood.

ANYWAY!  So we protected our pretty wood and and started painting.  We also found out that Behr has a new product...

Behr's paint and primer in one.

Awesome!  We could skip a step.  And after 2 weeks of living in the front room...we were all for anything that makes our work go by quicker.

The tools that we used where just a paint brush, a roller, and our wonderful aluminum painting tray.


This is our FAVORITE painting tray ever.  You just let whatever is in it dry and it just peels right off!  We bought ours at Lowes about 5 years ago and have been using it ever since.  So I don't know the brand name...but I think most hardware stores have them.  

It was kinda strange because since the paint primes at the same time, it's goes on completely uneven.  Parts were lighter where we just applied it but then other parts were darker as it was drying out.  We were a little concerned but whatever.  It did dry really quickly and it did dry evenly.  We fell in love with the color after we were done and we're sooooooooooo happy with it!

This is our before...


And..............after!


I love it.  I think it is so pretty!  And I think it looks AWESOME with the dark wood floor and the white trim.  Very clean and crisp.  


Wednesday, August 25, 2010

Master Bedroom Reno Phase 2...

Ok...so staining wood floors.  NOT as easy as staining furniture.  If you remember from this post we had a lot of work to do.  We had to start completely over...as in re-sanding, re-staining, re-waiting...is that a word?  It was not pleasant.

BUT!

We noticed significant differences the 2nd time around.  Wiping off the excess stain was soooo much easier.  Also, the stain actually penetrated!  I know typically that wouldn't be a big deal but after doing it all once...that's a BIG deal.  :)

So.  Here's what we did.

We used stain stipper to get off all the stain that we had previously put down.  NOT a fun job.  Luckily...I didn't have to do it, the Hubs did it but still, watching all that stain come up...yeah, almost made me tear up again.  And boy oh boy was it NAS.TY!  It was just so gross and gunky.  And it took quite awhile to get up.  The hardest place to get up was around the edges.  But luckily it came up and we got back to our floor.

We went and got the sander again and I have to say...the manager of the rental center at Home Depot was awesome.  He heard what happened and only charged us for the sanding pads.  He also told us that with any questions we had...he had 25+ yrs of experience in construction and he could answer anything.

The good thing was that we didn't have to go through all of the different grains of sandpaper again...we just had to use 2 to get the sealer off.  That was great.  So the floor was sanded again.  THIS time, no sanding sealer.  :)  We cleaned it up and went straight to the stain.  It did take a little less than it did before since I had 8 hours of previous experience.  Haha!  Just one thing I want to point out.  The instructions do tell you to make sure you stir the stain a lot throughout the process.  Yeah...that is pretty important or the stains possibly might not match.  We have one patch where we had to switch stain cans where the stains don't really match up.  Not pretty.  Luckily...it is where the built-in's are going so no-one will notice.  :)


But I have to say...I LOVE the color!  So pretty.  It did take 2 coats to get where we wanted.  But now it is beautiful. 

So the stain is done.  And I was going to take an after picture but the Hubs was too excited and painted the room it's new color before I was able to get there.  Whoops!  But since Phase 3 is all about paint so you'll get to see that coming up soon! 

Monday, August 23, 2010

I'm BACK!!!!!

So last week was spent at the lake.  It was wonderful!!!!!!!!  It was such a needed vacation. The Hubs is the one who unpacked and now I can't find my camera to share any images but as soon as it resurfaces...pictures will be shared.  :)

Now...onto our normal posting.  Chapter 2 of the master bedroom will be tomorrow but today I discovered something that I just had to share.

While I was on vacation I happened to catch an episode of Design Star.  I don't have cable TV at my house, TV is not a priority for us.  We just watch movies...or whatever is available on Hulu.  This episode of Design Star was very inspiring to me.  It was the Glass House episode.  There were three contestants left on the show.  The one that really impressed me was Emily.  I thought she was so spunky and really talented.  But the thing that really stuck out to me about her room was the fabric she used on the wall as wall coverings.  Here's a picture...


Isn't it so cute?  I love it.  And it really sparked an idea.  I'm not going to use wallpaper behind our bed...I'm going to use fabric!  Here is the tutorial I found...SO excited about this.  I was having issues finding some wallpaper that matched the fabrics I had picked out...Now I can just find a coordinating fabric which is pretty easy to find.  :)  

And here are some inspiration pictures. 


Monday, August 16, 2010

Ceiling Fans vs Pendant Lights

So yeah...I'm trying to figure out what to put in our master bedroom.  Lighting.  We have the paint, we've decided on the molding, we're putting bead-board on the ceiling, we have plans for our built-ins...everything is working...except lighting.

I don't necessarily like the look of ceiling fans.  Never had.  BUT!  Our house doesn't have central air and in the summer.....yeah, ceiling fans are a BIG help.  They really help make our 80+ degree house stay cool at night so we can actually sleep.


However...pendant lights are so much better!  They're so cool!  I love the added character they bring into a room.  Basically, I just love them.


So here's my question.  Ceiling fan or pendant light?  What's your preferance?

Wednesday, August 11, 2010

Bedroom Decor Ideas...

Ok so here are some of my inspiration pictures for the bedroom.

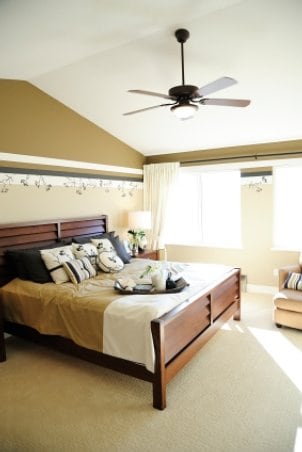
I love the colors in these pictures.  I was going for just a gray and yellow color scheme but I'm thinking I'm going to have to throw in some blue...so pretty.