
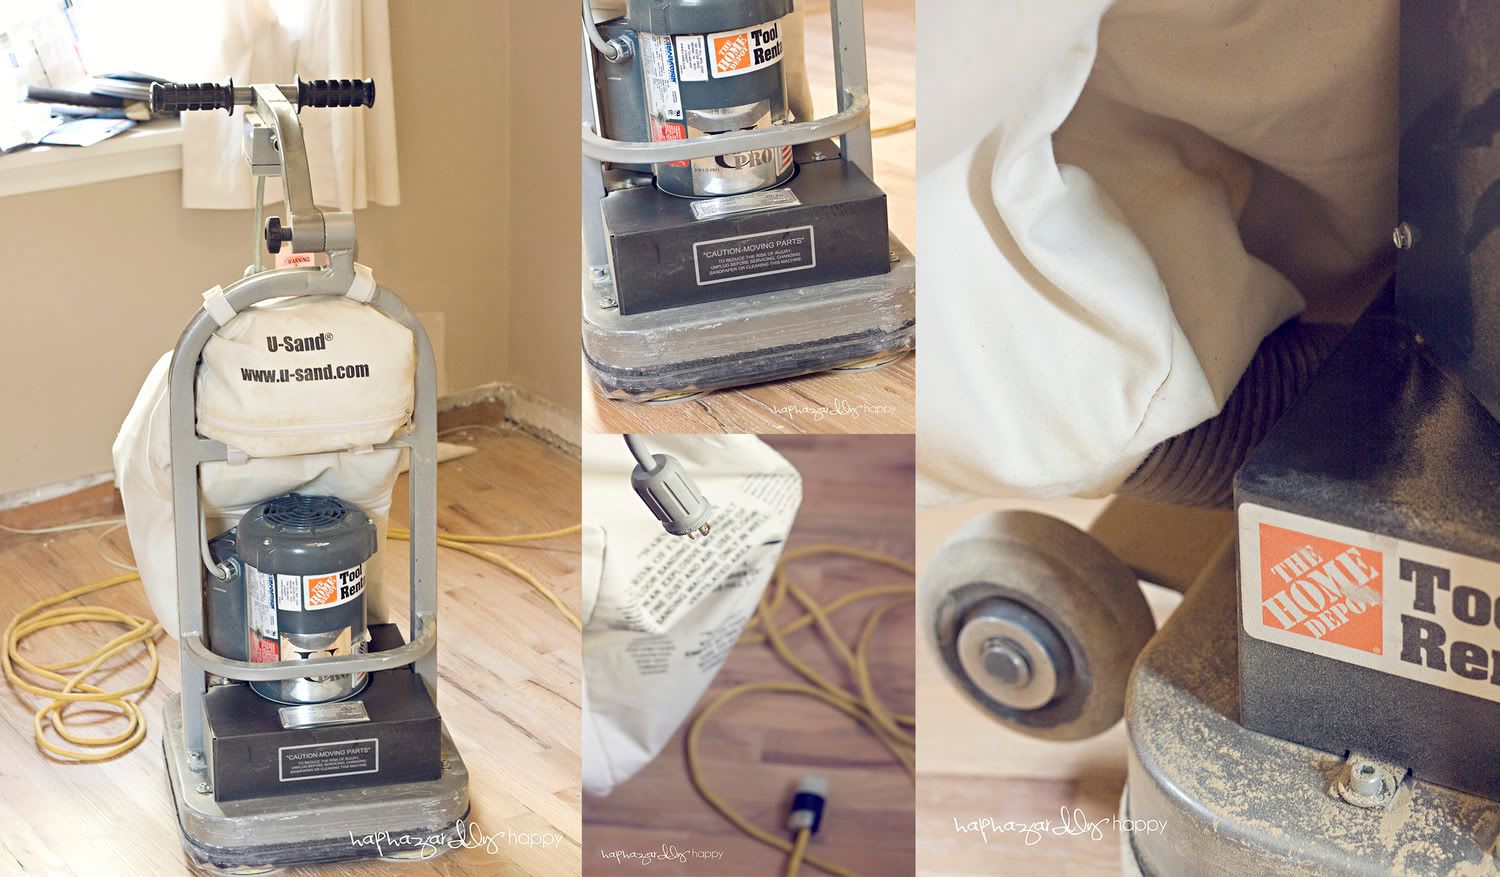
Looking at this thingamabob we were pretty durned intimidated. Not only was it rather large but it weighed about a ton.
Ok, not really...it actually only weighed about 120 lbs or somewhere along those lines. The Hubs lugged it into the house and we kinda just stood there staring at it. I had visions of having to wrangle a piece of sandpaper onto the bottom and what would happen if it came off and just soooooooo many visions of having to stop and fix it. Yeah, it was way easier than all that. So. I decided to kinda break it down for you all.
Here is the bottom of the sander.
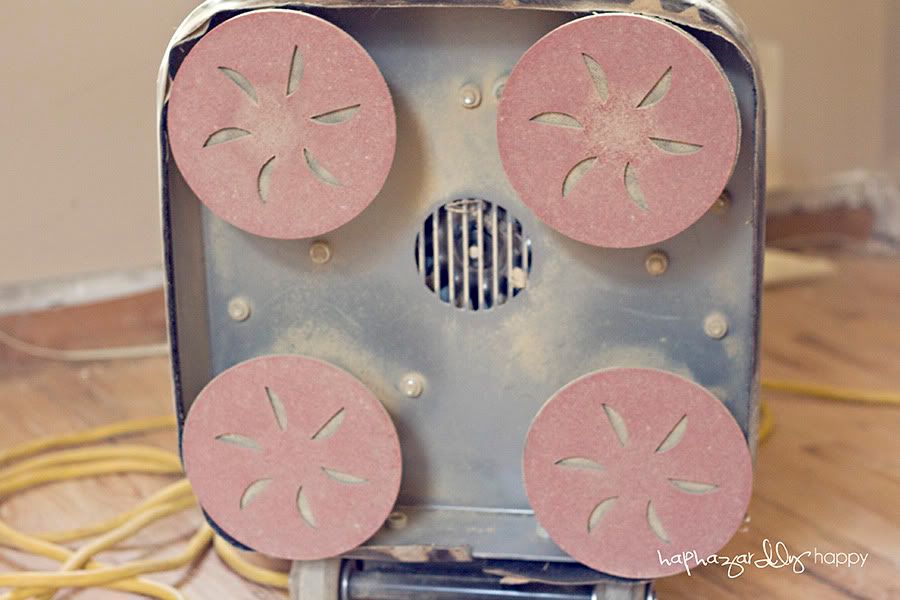
This is after using these pads to sand. It has pads attached to the orbital spinner thingys.
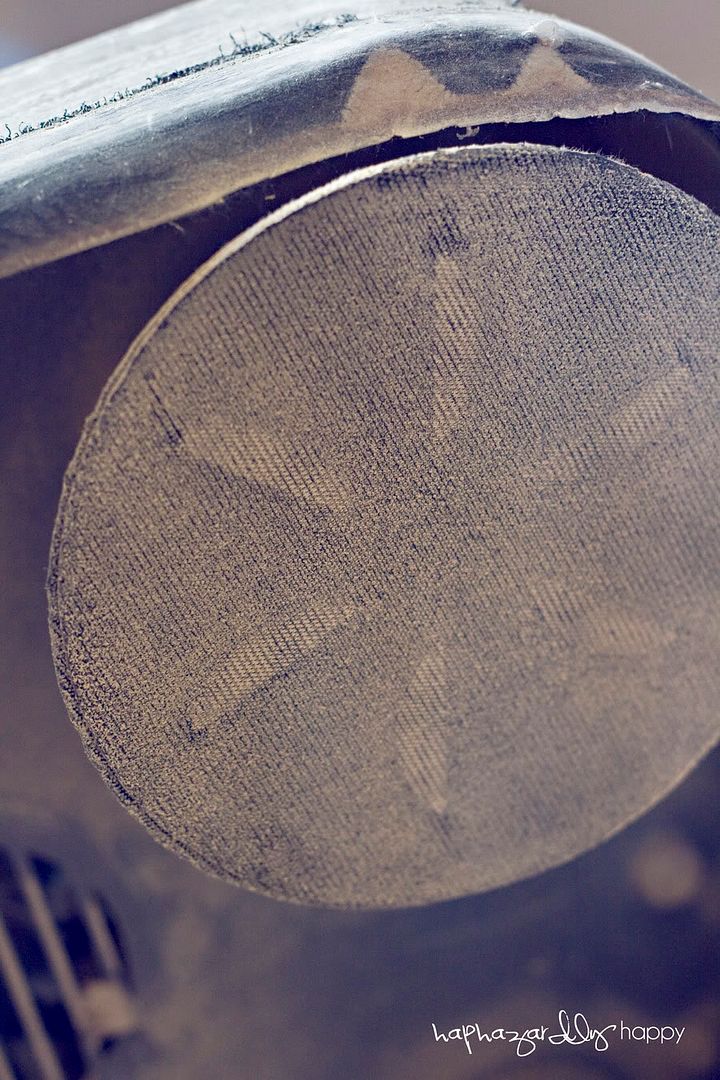
Here is one of the spinner things close up so you can see the velcro...
and this is how they attach...
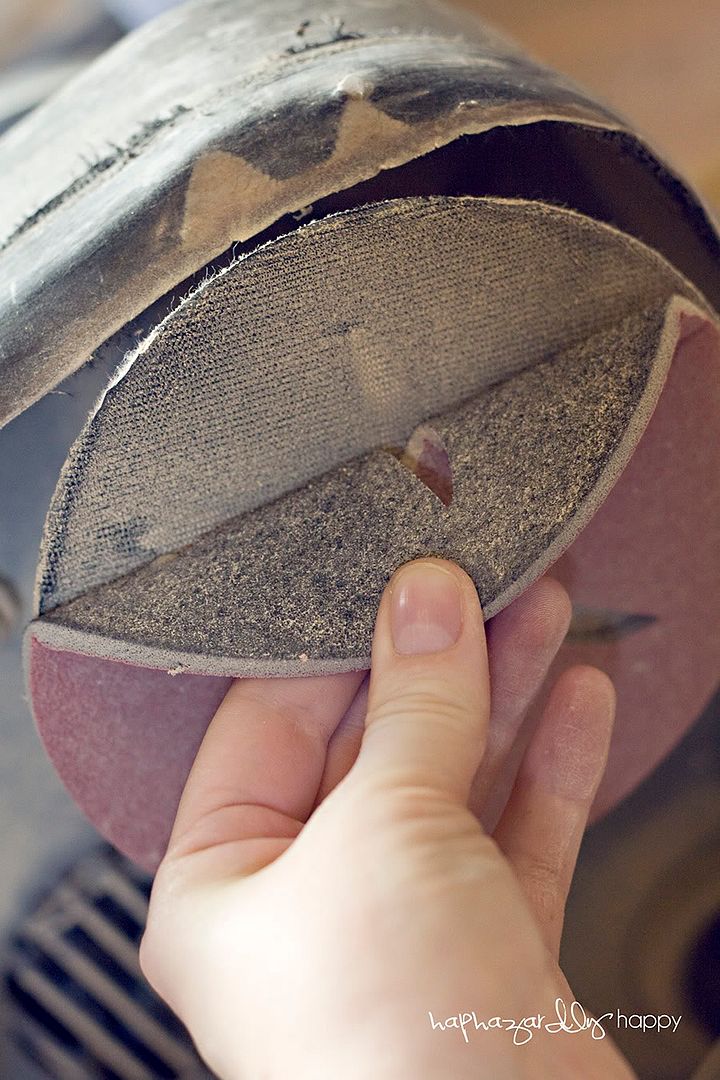
SO easy! They just seriously pop right on. And the velcro is soooooo strong. You don't have to worry about it coming off at all. WAY easier than I thought it would be just looking at it.
Alright...we had the machine. Now to just prep the area.
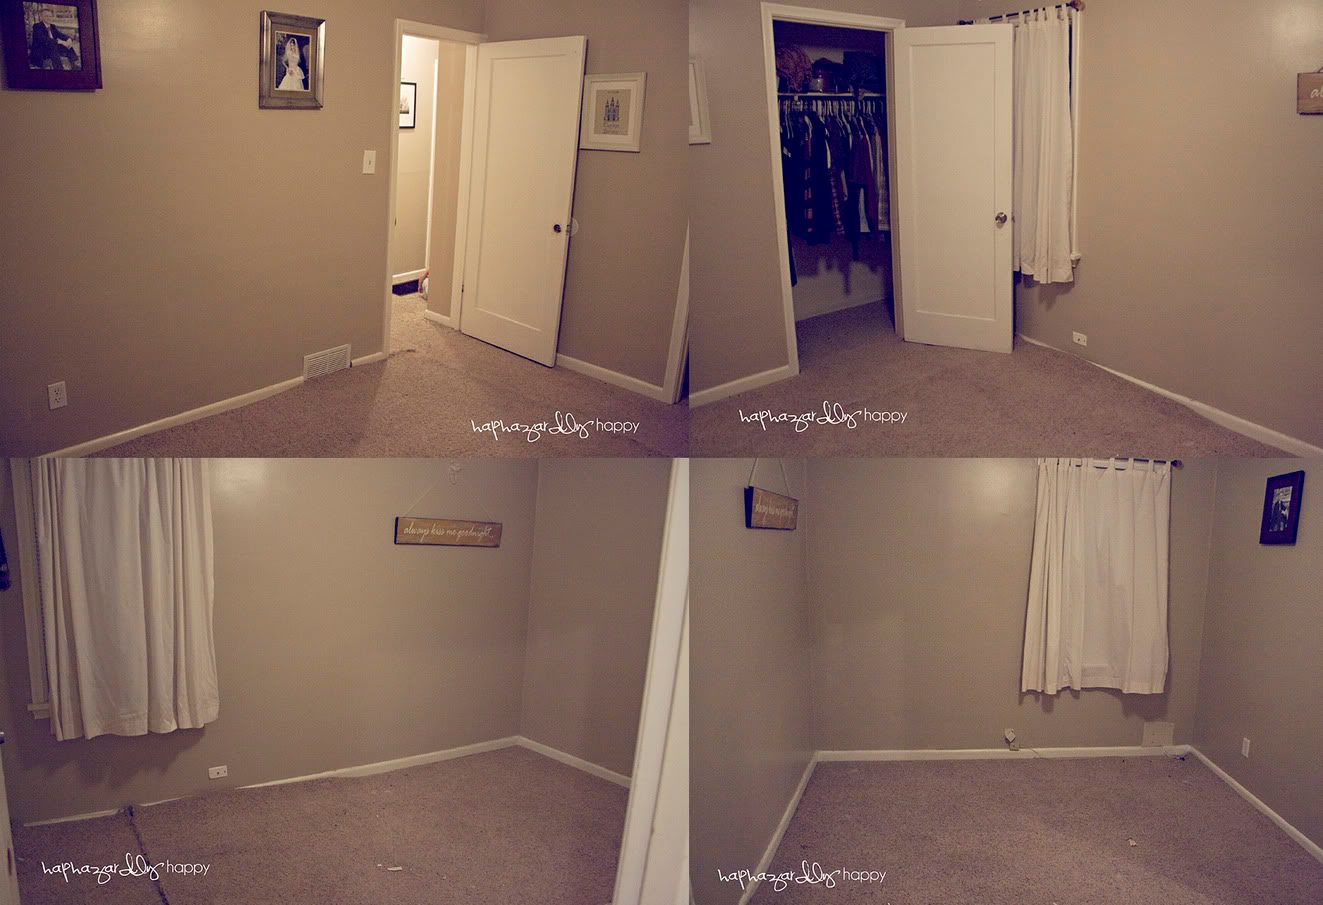
Yeah...seeing this room online just shows me how small our room really is. The carpet didn't really come up over the molding, The Hubs had already started to tear it up and I made them put it back down for the picture. Oy...it also shows how sparse our wall decor is and how awkwardly placed the windows are.
I think tearing out the carpet was probably some of the most satisfying prep work we've done so far. Talk about instant gratification.
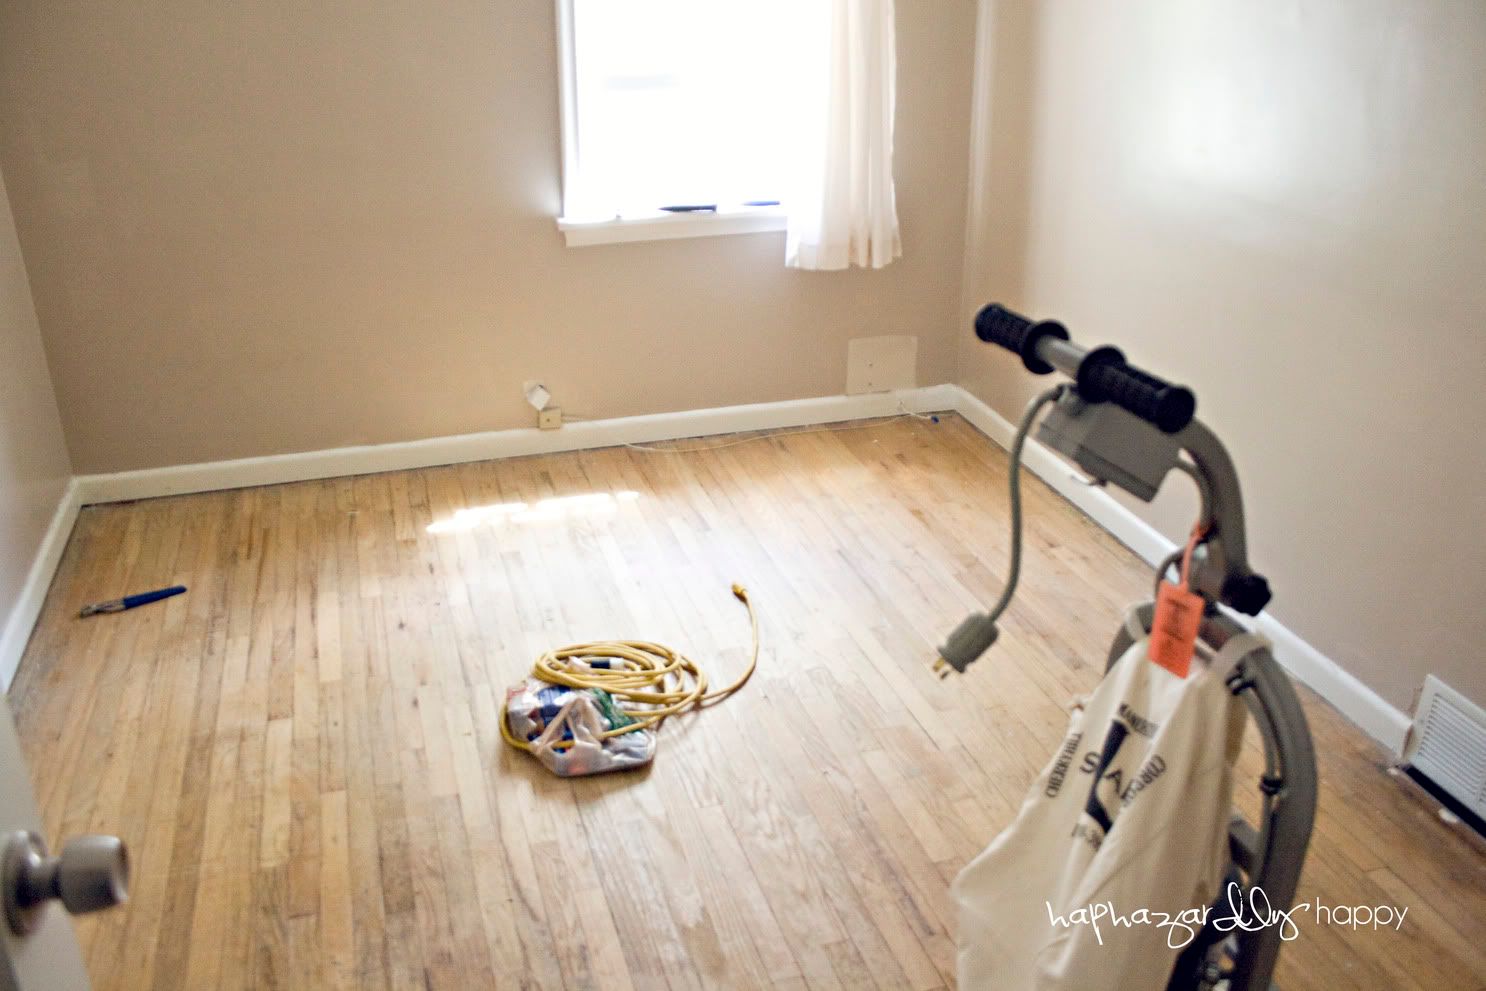
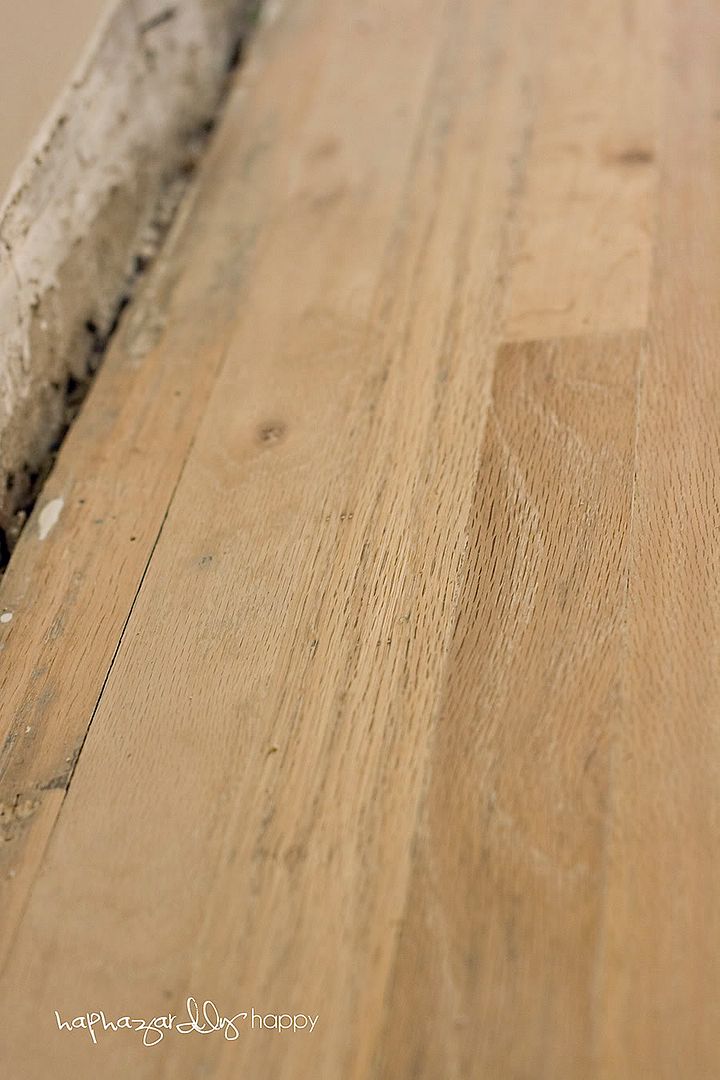
Even the rough floor was better than the carpet. But now let's look at some detail shots...
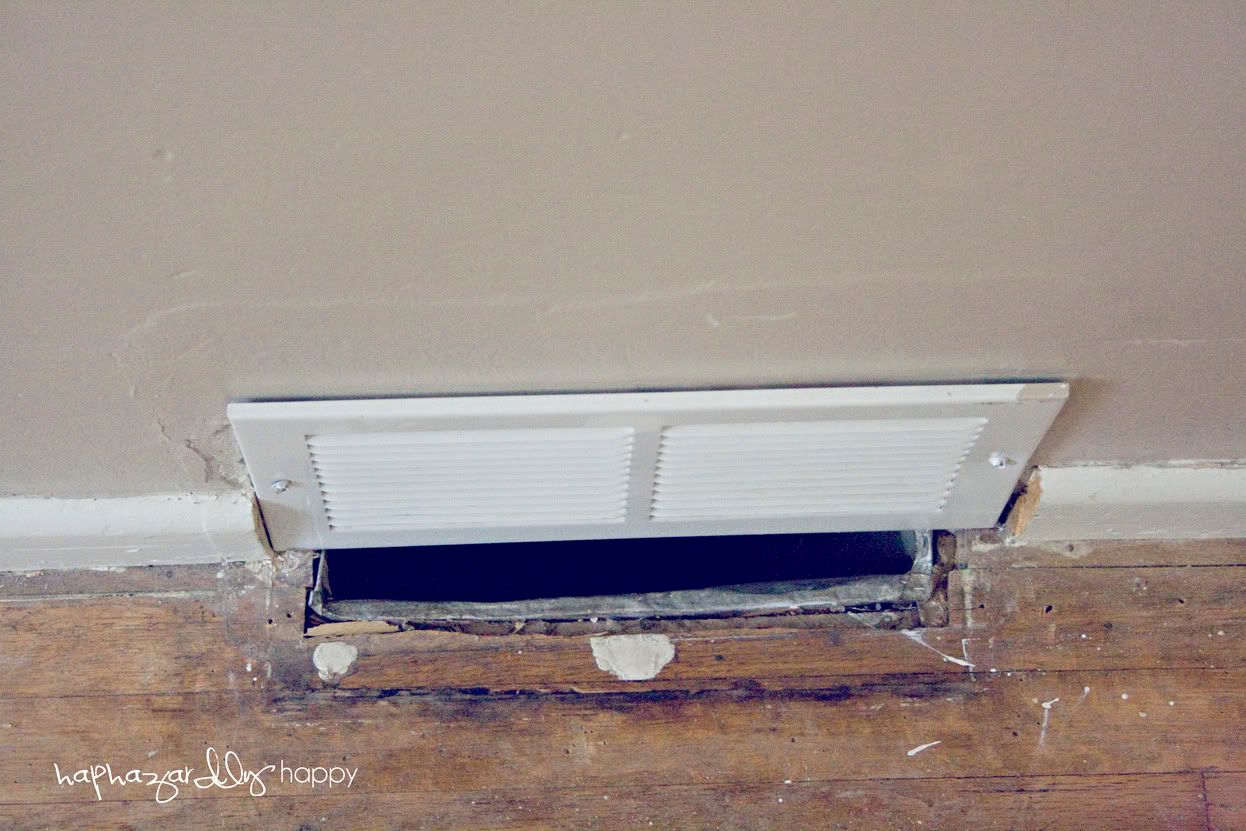
Erm...kinda rough wood. Uh actually...really rough wood. Here are some more detail shots.
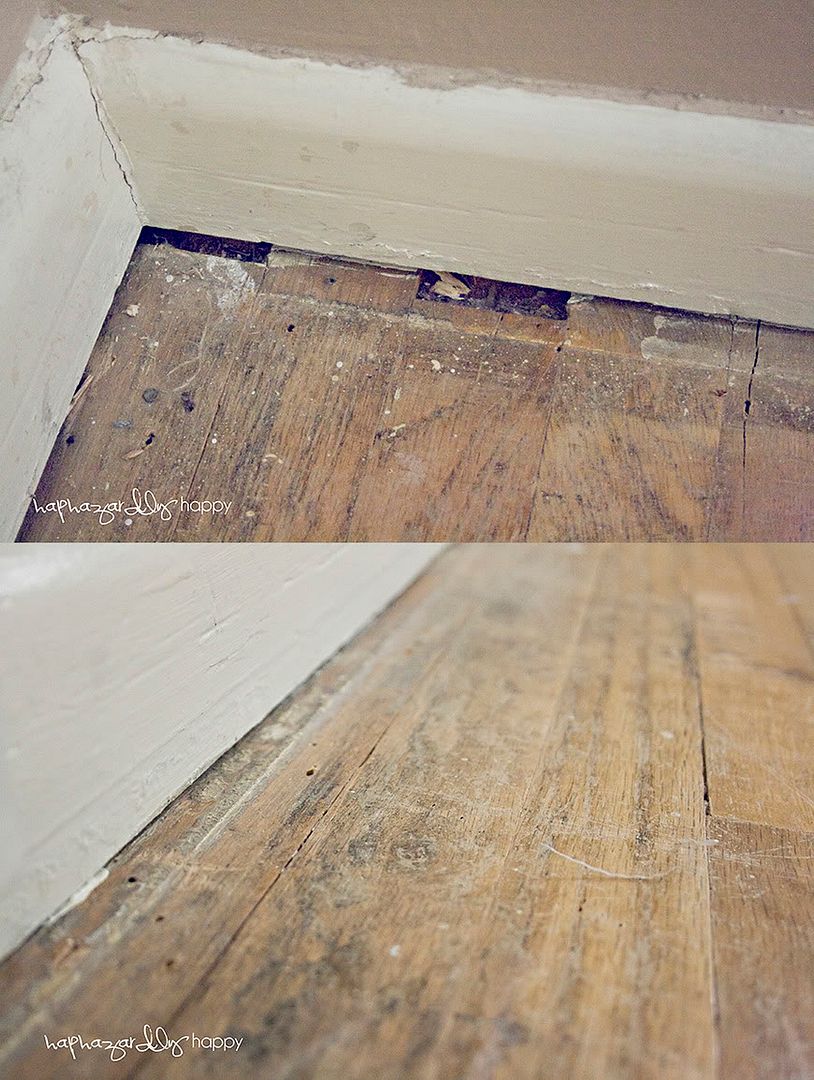
Yeah...we had our work to do. Something I noticed though is the gap between the wood floor slats and the molding. Why on earth would they install wood floor so sloppily? This stuff is all original and we know the carpet was added later so why would they leave gaps like that? The answer was in the closet...
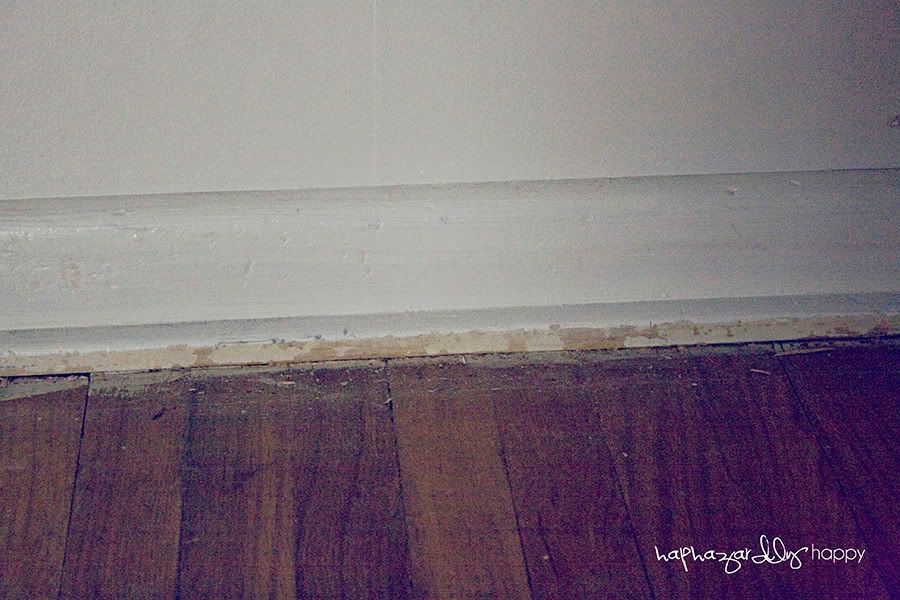
There was an extra strip along the bottom of the molding. Yeah...so we ripped up the molding along with the carpet so looks like we'll be adding a strip along the bottom of the new molding. Not what I expected but yeah...kinda pretty.
Anywhoo...so there are our before pictures. That my friends, is what we had to start with. Talk about a lot of work. Or so we thought. Actually the sanding process was really quite a bit easier than we originally anticipated. Sure...the sander was really big and intimidating. Sure...our floor was nasty as all get out. Sure...we've never tried anything like this before. But it was way easier than we thought. All we did was stand there and basically move the sander in circles. I HIGHLY recommend ear plugs. It's quite loud. The Hubs got out his massive headphones and his mp3 player and blasted U2 the whole time but when it was my turn...yeah, it didn't drown out enough noise for me. I did ear plugs.
Sanding is rather tedious. But it's so rewarding! So without any further adieu... Here are some after pictures.
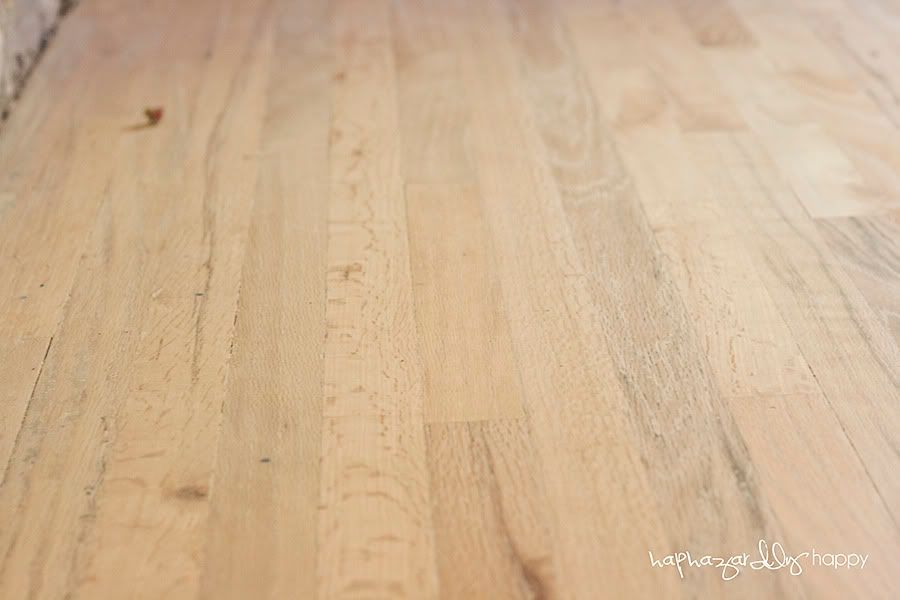
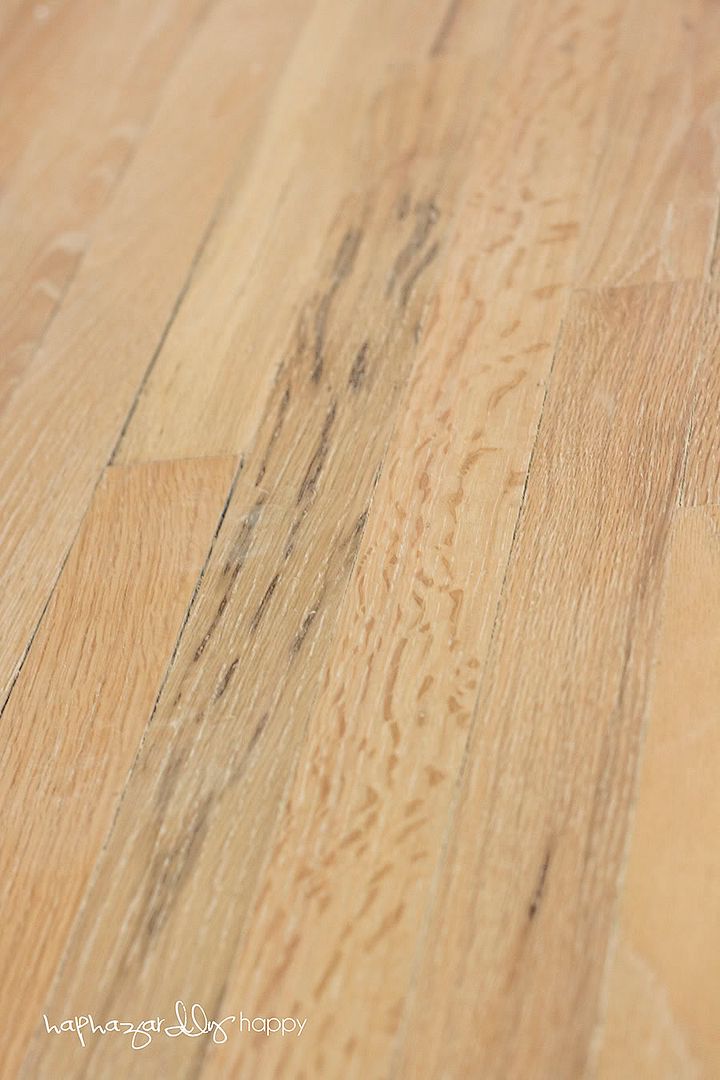
Amazing huh? I LOVE them! I actually think the wood looks kinda like some animal prints. I think they're pretty... These pics were taken before we dusted the floors but look how amazing they are!!! Love. The Hubs was so excited. Projects usually take a lot of time and energy and you have to put a LOT into them before you get to see anything come out of it. This project is going to be completely different...there's a lot of instant gratification and it will be completely done in the next week. It's definitely a job that takes longer than just a day or two because after sanding, there are multiple coats of things that need to dry. So it's going to take until Thursday at the earliest for us to be able to move back into our bedroom but hey...that's what a living room is for right?
So there we have it...chapter 1. Chapter 2 is all about figuring out a wood floor stain, buying the products needed and then application and curing time and will be posted sometime later this week so come on back for that! Woot woot!
1 comment:
Super duper exciting!! I have wood floors under my carpet too, but we haven't been brave enough yet to just go for it. Haha! Nice work.
Post a Comment